| |
We thought we would share what we did to make a HiTec HS-85 MG servo fit into the stock Mini-T chassis. If you want to upgrade your electronics, be aware that you must replace the electronic speed control (ESC), the receiver (RX) and the steering servo; the ESC and RX are a single unit and the servo is a four wire oddball. So you must replace all of them at the same time. |
| |
SKILL LEVEL: Medium |
|
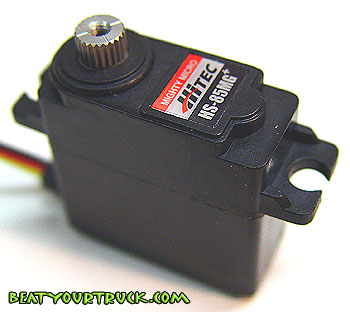
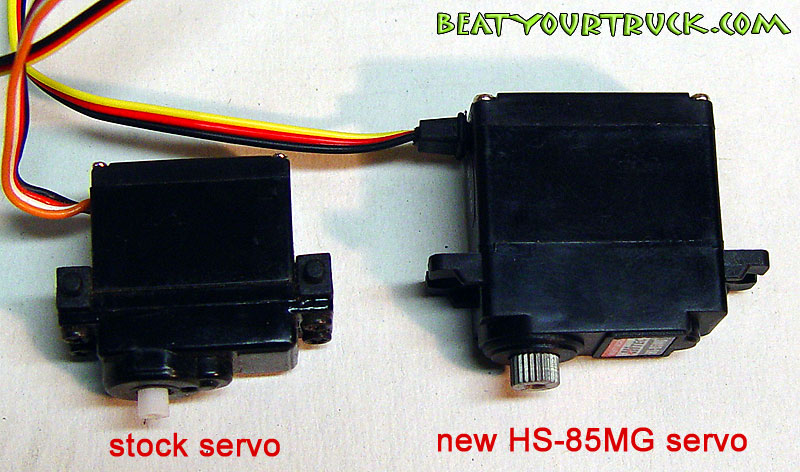
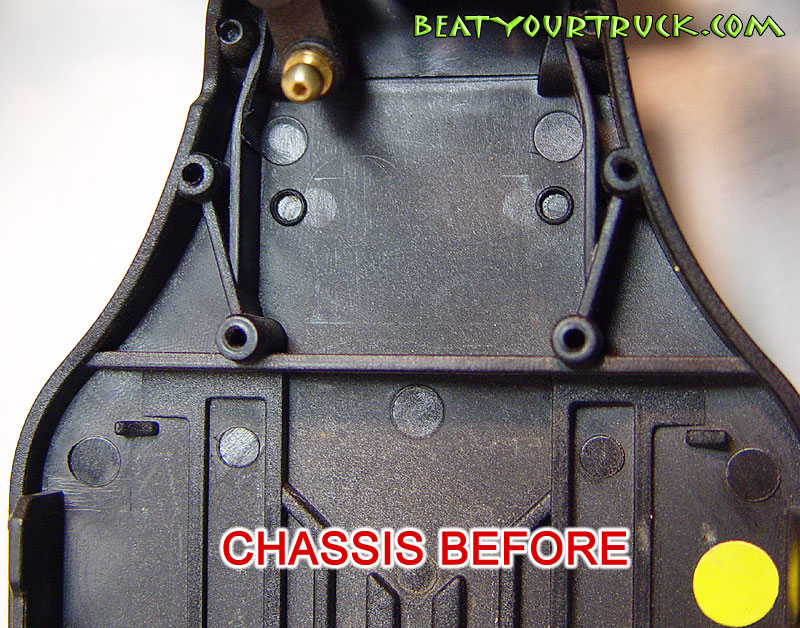
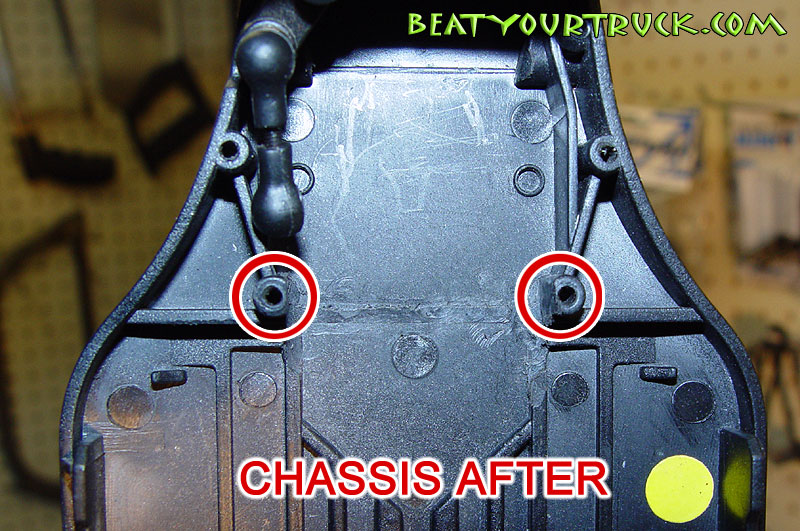
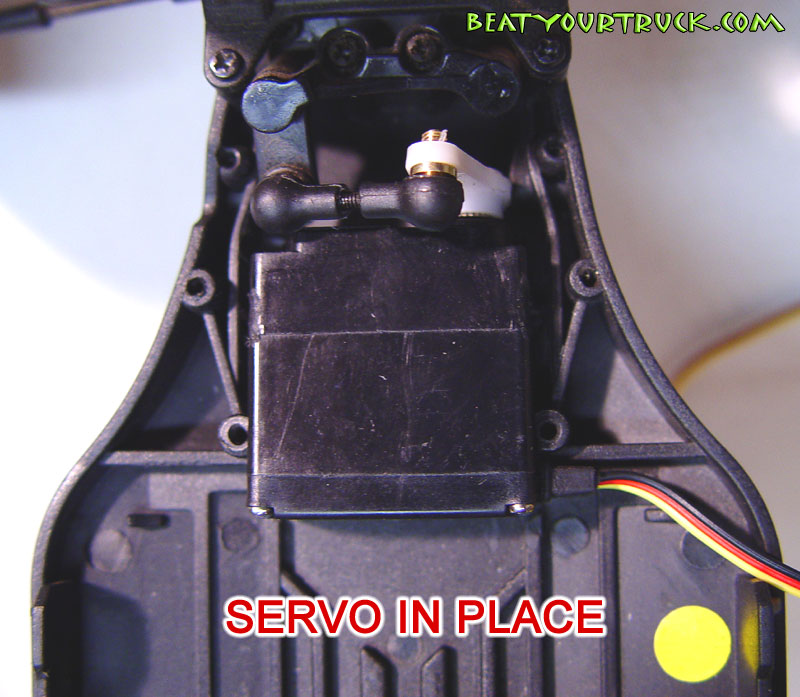
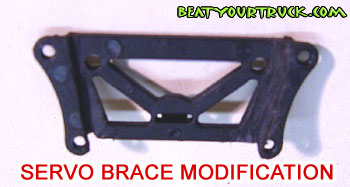
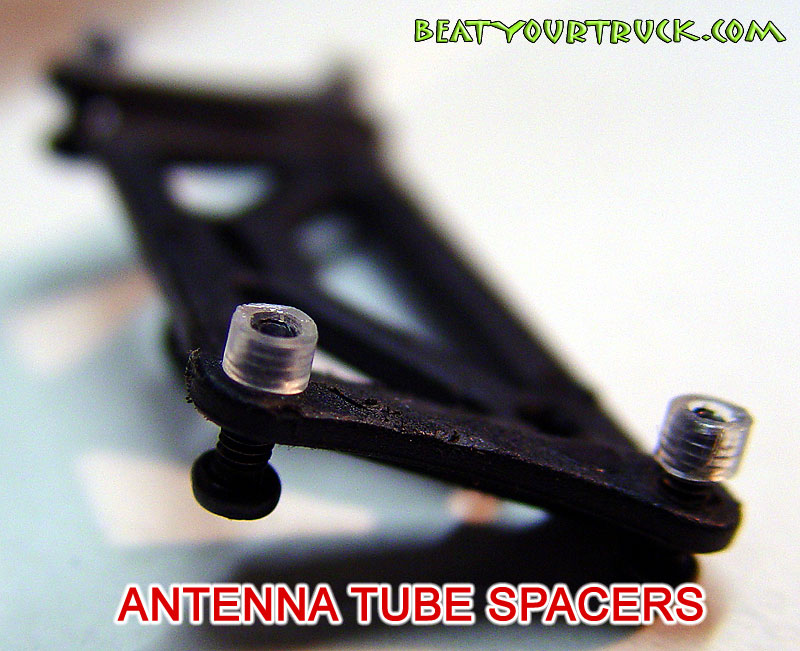
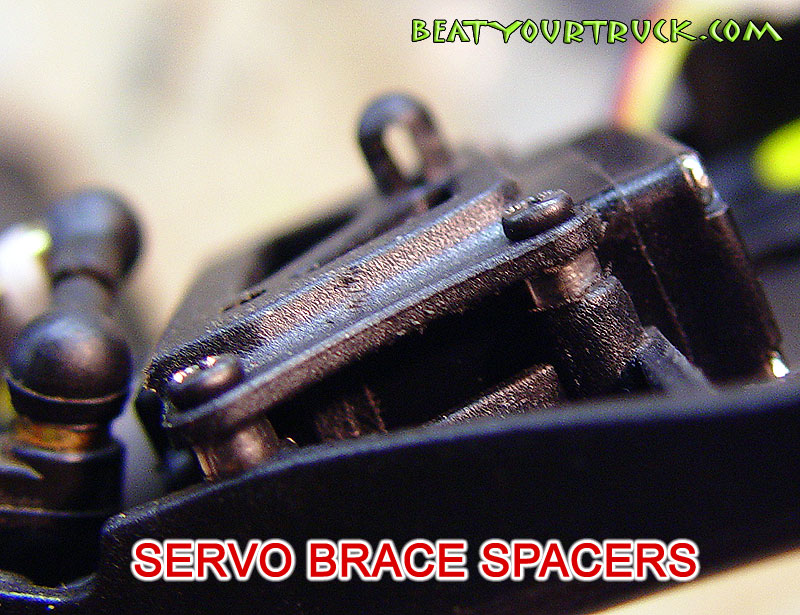
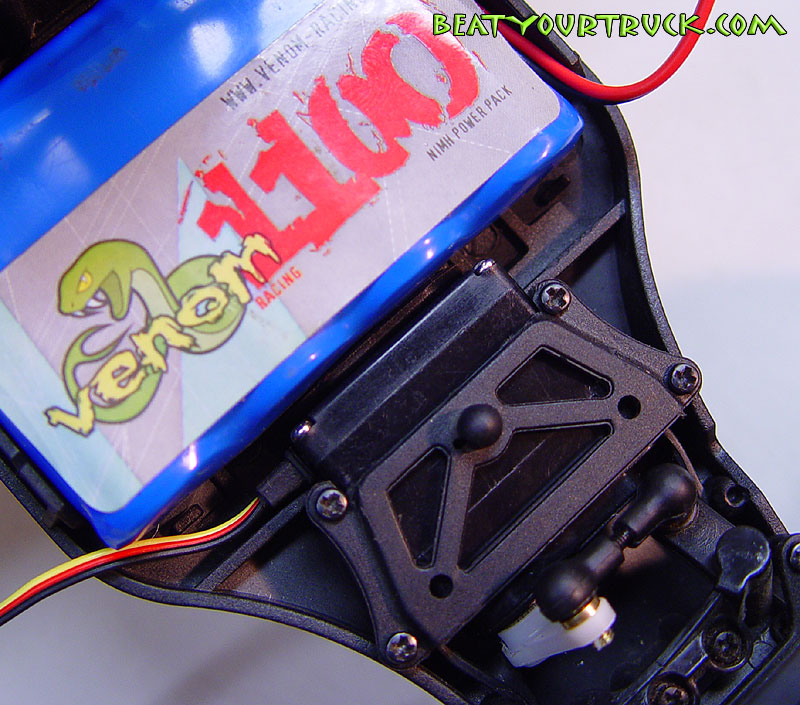
WHY ARE WE DOING THIS?: We are getting ready for a MAMBA brushless motor install. Therefore we needed to toss the stock electronics and get ready for the new stuff. The stock steering servo is a weird 4-wire setup and that meant it had to go! PLEASE NOTE: THIS MODIFICATION PROCEDURE CAN NOT BE USED WITH THE STOCK ELECTRONICS. IT WILL NOT WORK WITH THE STOCK SETUP. IF YOU DON'T FEEL COMFORTABLE DOING THIS.....DON'T DO IT! (check out Stage 4 instead) WHY HACK UP THE CHASSIS?: The steering servo that comes with the Mini-T is very small. You can find replacements of the same size (HS-55) and that would let you avoid the cutting and modifications you are about to see. Note that this is not a difficult job and we give it a "Medium" skill level rating because there is a fair amount of "cut to fit" operations that require patience. Rest assured if you take the time to do this procedure correctly, your mod job will look awesome and perform even better. We opted to do the following modifications as we bash our Mini-T pretty hard and having a micro servo with metal gears will be a real bonus. TOOLS / ITEMS NEEDED: New servo (duh) Dremel tool (this makes the job 110% easier) Hobby knife Phillips screwdriver Small piece of antenna tubing (less than 1 inch) New steering servo saver (micro version) The HiTec HS-85MG servo. Here are some servo specs: Metal gear construction Motor Type : 3 Pole Ferrite Bearing Type : Top Ball Bearing Torque 4.8/6.0v : 42 / 49 oz. 3.0 x 3.5 kg. Speed 4.8/6.0v : 0.16 / 0.14 second Size : 1.1"x 0.5"x 1.1" 29 x 13 x 30 mm Weight - 0.77 oz. 22 g. We picked it up for about $33 at our local hobby store. GUT IT!: The first thing we did was remove the old servo. Then we removed the front of the truck (four screws underneath and two on top). This will make it much easier to get our Dremel tool and hobby knife into the chassis for making nice, clean cuts. CHASSIS BEFORE: Here's a shot of the chassis before we started hacking. The new servo is longer and slightly wider than the stock one so we have to make some cuts to the chassis to accommodate it. NOTE: Make sure your servo placement will not interfere with the battery pack. Install the battery into place and mark the chassis to be sure you leave yourself enough room. CHASSIS AFTER: Here's a shot of the chassis after we made our mods with the dremel tool and hobby knife. Note the two red circles. They are highlighting the two rear servo brace screw posts. A small amount of material needs to be removed form the inside of these posts for clearance. The rib that runs between the two posts was removed so the new servo could lay flat on the chassis. Take your time during this step and remove a small amount of material at a time, then test fit the servo. Do this until a nice, snug fit is achieved. Removing the minimum amount of material from the chassis will help it keep its strength while also providing a nice, tight environment for the servo to be mounted. The mounting tabs on the new servo must be removed (even we don't like grinding chunks off our brand new servo but it must be done). We actually left a small piece of the mounting tabs on each side of the servo in place....only on the side of the servo that lays against the frame. We left just enough so that it created a snug fit against the inside of the chassis rails. The tabs must be completely removed from the top of the servo (the "top" is the side you see in the picture marked "SERVO IN PLACE" to make room for the servo brace to be remounted. SERVO IN PLACE: The shot to the left shows the servo snuggly in place. Note where the wire leads come out of the servo. Keep them on the "battery side" of the chassis cross brace. That will keep them from contacting the chassis and prevents you from having to remove more chassis material than necessary. Make sure your linkage fits properly without binding. The picture shows a standard servo horn coming off the servo. Our servo saver had not arrived by the time we were taking pictures. Even with a metal gear servo, a servo saver is a good idea. Just be sure to get one that will fit into the chassis; look for a micro version. Know that you may have to do a little grinding to it to make it fit properly. Again, make sure your servo placement will not interfere with the battery pack. Install the battery into place and mark the chassis to be sure you leave yourself enough room. We are fitting ours up for a 6-cell NiMH battery pack. It should also give us ample room for Lithium Polymer packs and larger 8 or 9 cell NiMH packs. Once everything was fitted up, we put the servo into place with a thin piece of double-sided servo tape. Use the thin stuff to keep it as flat to the chassis as possible. Our servo mount job worked out so well, it felt like we didn't even need to use tape however over time and with the truck bouncing around, it is a good idea to use it. SERVO BRACE MODIFICATION: You will need to do some light grinding to the servo brace on the narrow end. The best way to do it is to test fit it to the servo. You will be able to see where the material needs to be removed. SERVO BRACE MOUNTING: OK! By now you may be asking why we included a small piece of antenna tubing in our list of materials? Once you get the servo brace fitting flush on top of the servo, you will notice that due to the increased thickness of the servo, the servo brace mounting holes do not contact the chassis. There will be a gap between the servo brace and the chassis. We cut small sections of antenna tubing to fill this gap and provide a more solid mounting surface for the brace (see pictures to the left). Don't cut them too long or the brace will not hold the servo properly. You may want to run a drill bit through the tube to make the screws pass thru easier. FINAL ASSEMBLY: Finally! Mount your battery and check again for clearance. Ours fit perfectly even with the use of the battery holder. Plug it in and give it a whirl! This servo is KILLER! I did not realize how weak the stocker was until this little powerhouse was in place. Turn the wheel and WHAM! The wheels are turning with authority! This will be an excellent upgrade to go along with our MAMBA system. Having the ability to turn fast at very fast speeds will be a big plus! |
| |
 |
Man! That looks awesome! In fact, it looks "factory"! :) |
Click here to check out STAGE 3 of Project Mini-T RocketShip..building an inexpensive lithium battery charger!
© Copyright
2001-2006 Beat Your Truck. Site best viewed at 800x600 or higher with Internet Explorer 5.5 or higher.
Advertise with Beat Your Truck * Donate to Beat Your Truck
Advertise with Beat Your Truck * Donate to Beat Your Truck