| |
We hope you enjoy "Project Rock Ripper". We started this project as rock crawling newbies and still have a lot to learn. Throughout the project pages, you will see what we did with our truck and we will also try to list some alternatives to get the job done. Our hope is that by providing some alternate methods to acheive the same end goal, more people will tackle a project like this and get into crawling! |
| |
|
BABY NEEDS SOME NEW CLOTHES
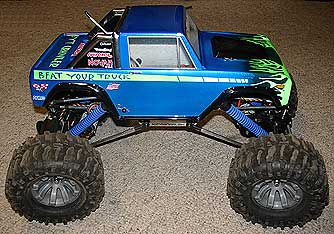
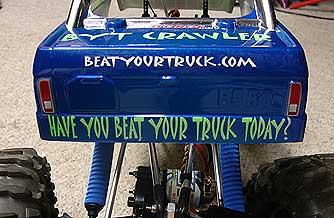
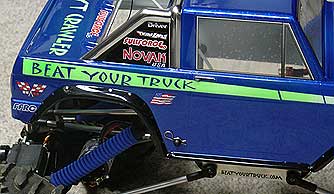
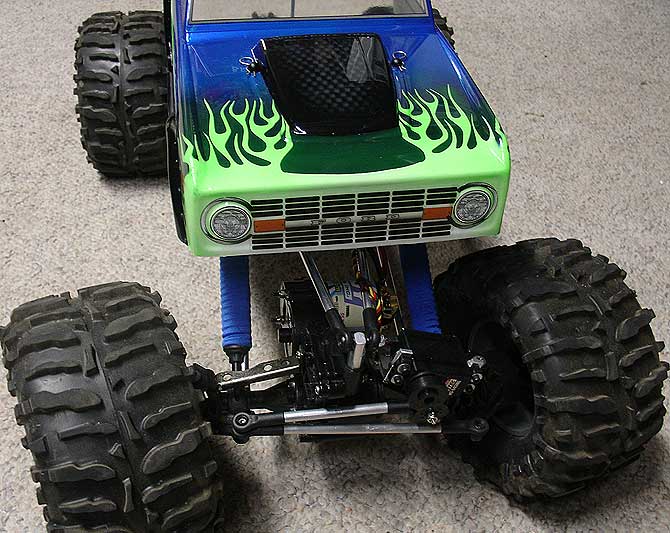
As this is a very special project for BYT, we wanted to treat it to special body. No, not the hack and slash job we normally do ourselves (we stink at painting) but a professionally painted body.
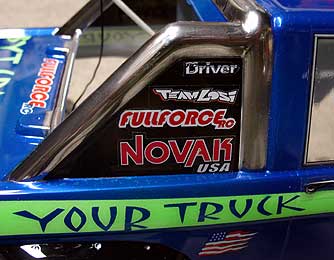
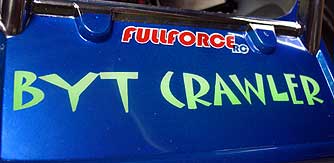
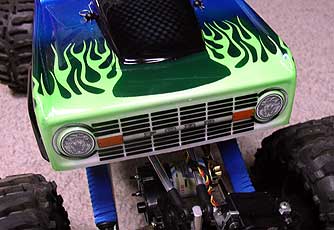
For this task we contacted our good buddy Paul at Ashnic's RC Paint Shop and hired them to do something nice for the Rock Ripping machine. We wanted a square style body to minimize the amount of trimming we would have to do for tire clearance. With this in mind, we went with the 1973 Ford Bronco body style. We gave them a few suggestions on colors (we suggested using BYT blue and green) and them let them do what they do best! As you can plainly see, Ashnic's did a fantastic job of representing this BYT Project with this awesome paint job. They did the roll bar in chrome and applied a special carbon fiber look to the hood scoop. The side striping has a gradient color treatment, starting with white at the fron and fading to BYT green in the rear. The lettering was masked and painted on the sides and the rear of the truck. "BYT CRAWLER" graces the rear deck and also has a slight gradient to it. The details are immense and the pictures simply do not do it justice. We applied a few select decals to the truck to represent some of the manufacturers under the hood. Paint jobs start at $55 for the more basic jobs and go up from there. When you figure inthe cost of a body ($20-$30), cost of paint ($5-$10) and shipping costs, it is a bargain! Thanks to Ashnic's RC Paint Shop for really putting the final touch on our RC Crawler Project! It should be known that we almost cried after the first time the truck rolled over (aargh!). BODY MOUNTS
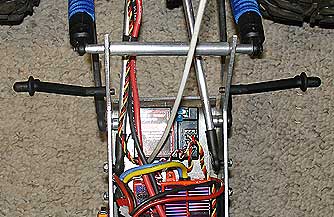
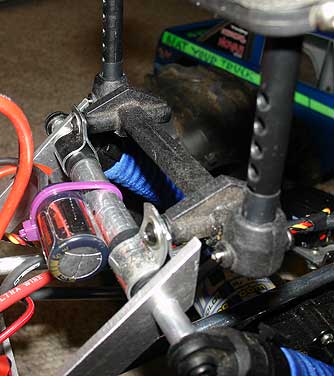
We fabricated some body mounts using stuff we had
laying around the shop. A stock T-maxx shock tower and body posts
were used to create the front body mount. We simply cut off the
bottom section of the shock tower, leaving the upper post mount
section. This was attached to our chassis by using some simple clamps
we found at the hardware store ($2).
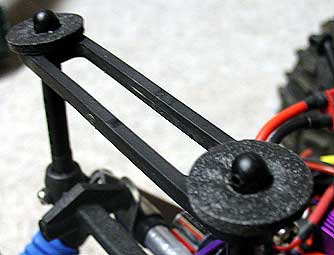
 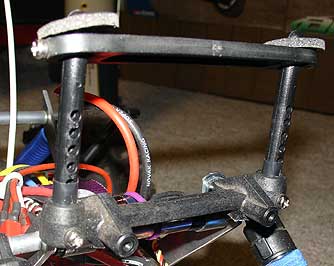 The rear mounts were created from a spare Savage body mount that
was left over from our SS kit. It is the funny angled mount. We
used a hack saw to separate the two side posts and then cut the
posts to length. The ends of the posts were drilled out and properly
placed holes drilled in the chassis. A couple of 4-40 screws were
used to secure the posts to the chassis.
The rear mounts were created from a spare Savage body mount that
was left over from our SS kit. It is the funny angled mount. We
used a hack saw to separate the two side posts and then cut the
posts to length. The ends of the posts were drilled out and properly
placed holes drilled in the chassis. A couple of 4-40 screws were
used to secure the posts to the chassis.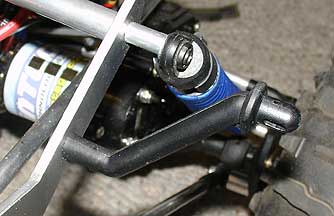 Nothing fancy here folks...but it does the job well! We wanted to
use plastic for the flexibility factor and they are, of course,
lightweight. Plastic mounts were the perfect thing. We also added
some foam pads to keep the mounts from carving through our sweet
paint job!
Nothing fancy here folks...but it does the job well! We wanted to
use plastic for the flexibility factor and they are, of course,
lightweight. Plastic mounts were the perfect thing. We also added
some foam pads to keep the mounts from carving through our sweet
paint job!POLISHING THE ALUMINUM
The body turned out so great, we felt like we needed
to polish up the rest of the truck! The chassis and links were all
made from aluminum so we wet sanded them with some 2000 grit paper
and then polished with 3M medium and fine grit rubbing compund.
There are a wide variety of metal polishes that can be used to make aluminum look almost like chrome. We chose this particular method as we had the materials on the shelf and it has proved to work very well in the past on other projects. Click here to check out STAGE 9 of Project Rock Ripper.....Field Testing. |
|
© Copyright
2001-2006 Beat Your Truck. Site best viewed at 800x600 or higher with Internet Explorer 5.5 or higher.
Advertise with Beat Your Truck * Donate to Beat Your Truck
Advertise with Beat Your Truck * Donate to Beat Your Truck